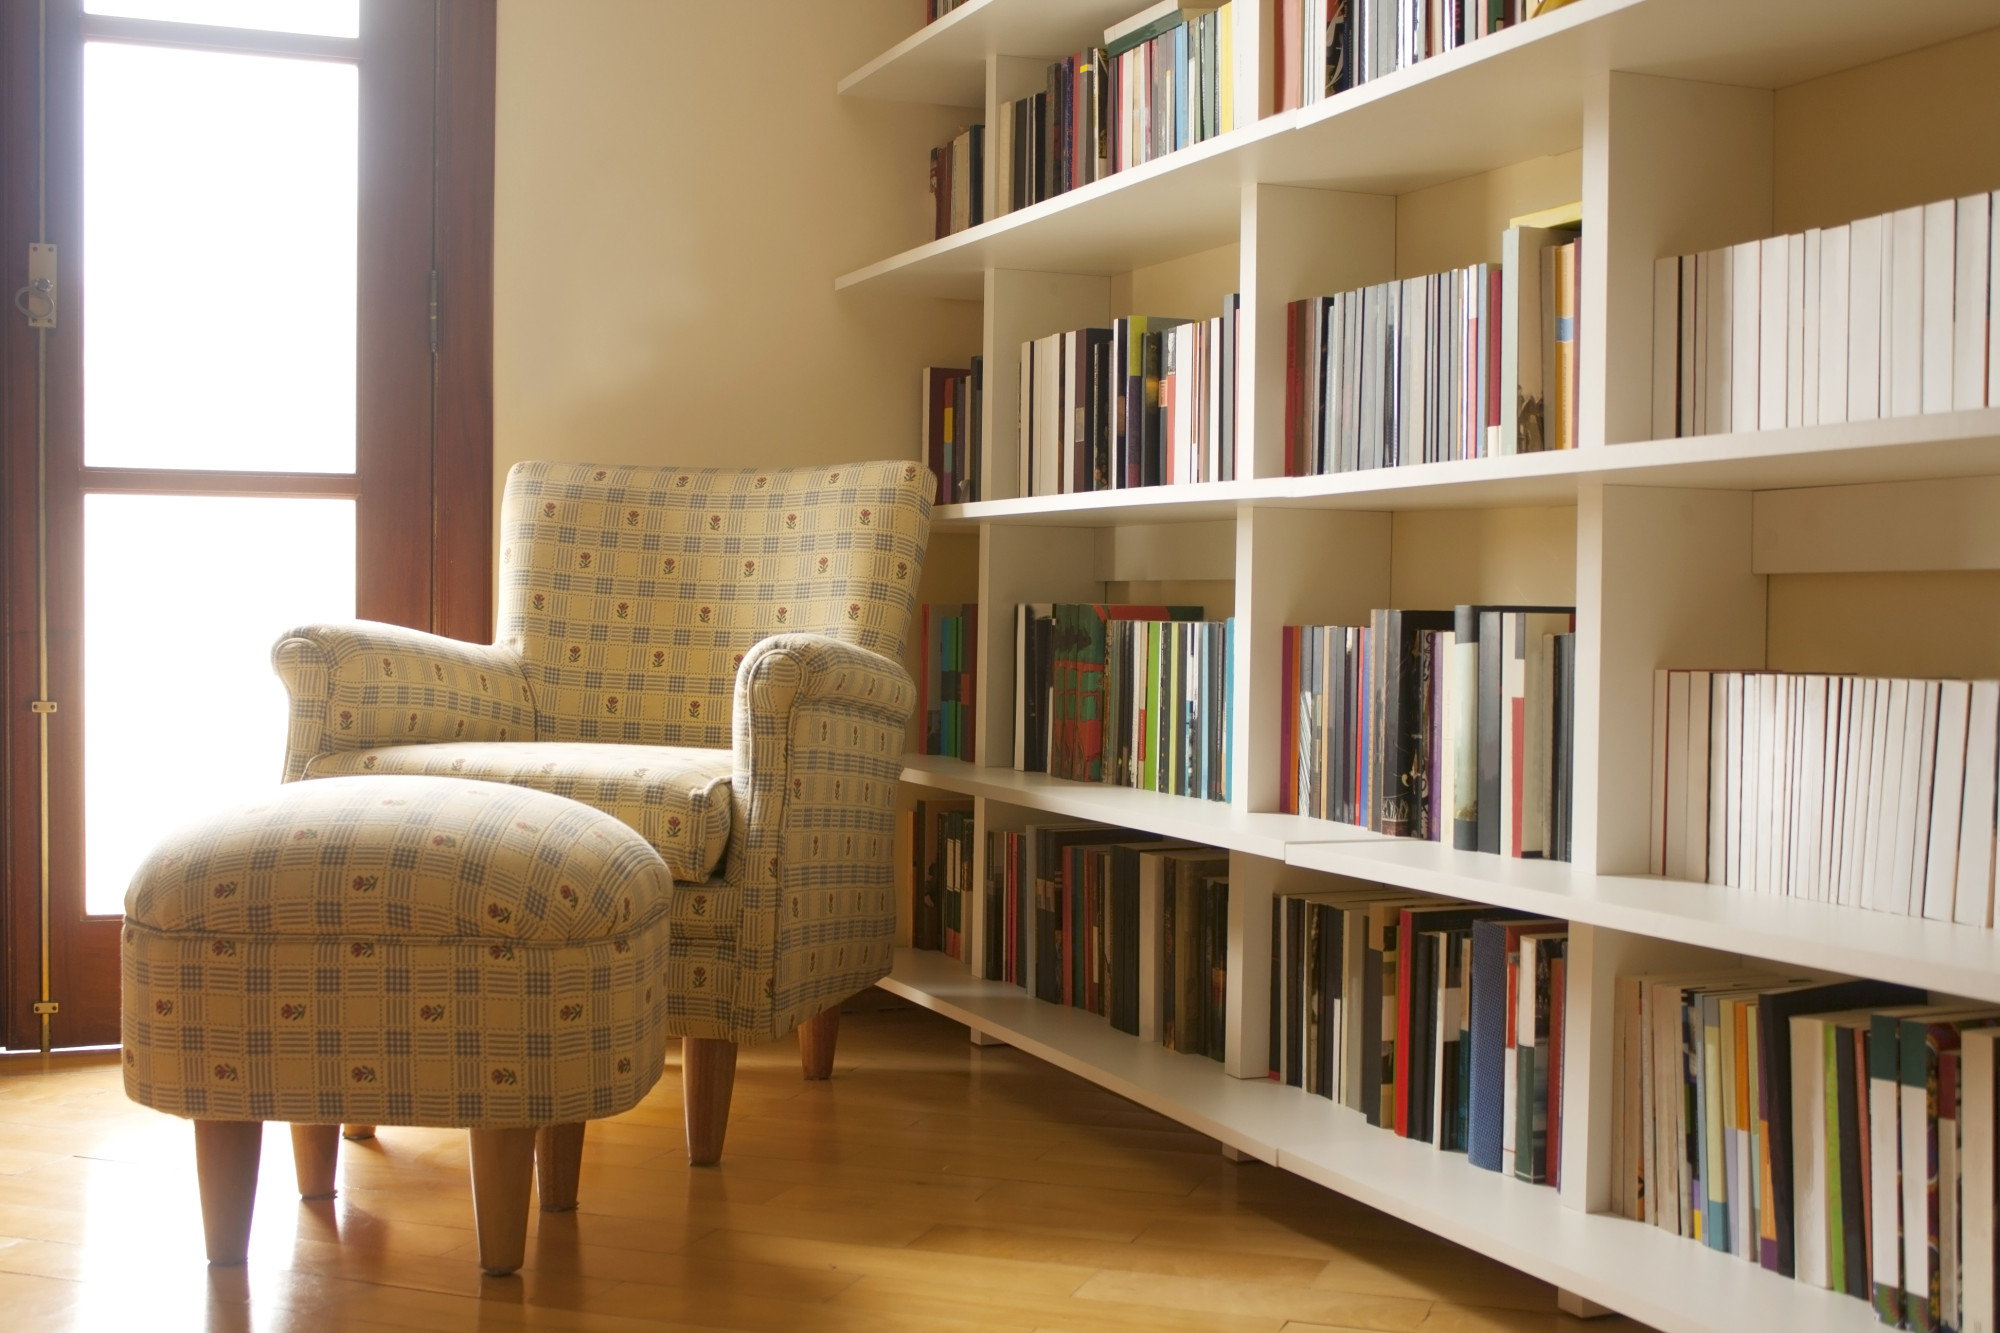
How to Make DIY Wooden Bookshelves
Do you have unused shelves or nooks in your home that are simply asking to be filled? Wooden bookshelves are a great DIY project for woodworking beginners.
Building a bookshelf may seem challenging at first. With a little reading, planning, and careful action, you’ll learn how easy it really is.

If you love books and want to display them in a unique and charming way, have your own DIY wooden bookshelves. It is a fantastic project.
Read on for more ideas on how to get started on your DIY bookshelf plan to build.
Draw Up Your Plans
Measure the area where you want to place the bookshelves. Determine the height, width, and depth you desire. Sketch a simple plan to visualize the design.
Remember to account for the thickness of the boards when calculating the size of the shelves. Have a clear plan and accurate measurements. This will help you avoid mistakes during the construction process.
Gather Your Materials
In order to make DIY wooden bookshelves, the first step is to gather your materials. You will need wood, a saw, wood screws, a drill, a level, and a measuring tape. Additionally, you may want to use a sander to finish the project.
If you are a beginner, you should take your time to find the right type of wood, as it will affect the look and function of your bookshelf. You also want to make sure you measure your space so you know how much wood to purchase. You may also want to find this product as it would surely be perfect for your project.
Cut and Sand the Boards
Using a saw, cut the wooden boards according to your measurements. Make sure to cut them straight and smooth. Sand the rough edges and surfaces to achieve a polished look.
Sanding also helps to remove any splinters. This ensures that your bookshelf is safe to handle and use. Take your time with this step to ensure the boards are properly prepared for assembly.
Assemble the Frame
Start by constructing the frame of the bookshelf. Lay out the 2×4 boards for the sides and the horizontal support pieces. Use a drill and wood screws to attach the boards together securely.
Check for levelness at each step to ensure a stable and even frame. Double-check your measurements to avoid any misalignment.
Attach the Shelves
Once you assemble the frame, it’s time to attach the shelves. Place the cut wooden boards across the frame, ensuring they are evenly spaced.
Use the drill and wood screws to secure the shelves to the frame. Make sure each shelf is level before moving on to the next one. This will ensure that your books sit properly and prevent them from sliding off.
Finishing Touches
After the shelves are securely attached, give your bookshelf a final sanding. Smooth out any rough spots.
You can also add a coat of paint or stain to enhance the beauty of the wood and match your existing decor. Allow the finish to dry completely before placing your books on the shelves.
Follow This Guide for the Best DIY Bookshelves
Building your own DIY wooden bookshelves is a rewarding project. This allows you to showcase your creativity while adding functional storage space to your home.
Have a clear plan, accurate measurements, and basic tools. You can create simple and elegant bookshelves that will bring warmth and character to any room. So, grab your tools and get started on building your own unique wooden bookshelf today!
Visit our website for more interesting guides like this!


