What Are the First Materials You’ll Need to Start Your BookNooks Project: Top 6 Requirements for Beginners
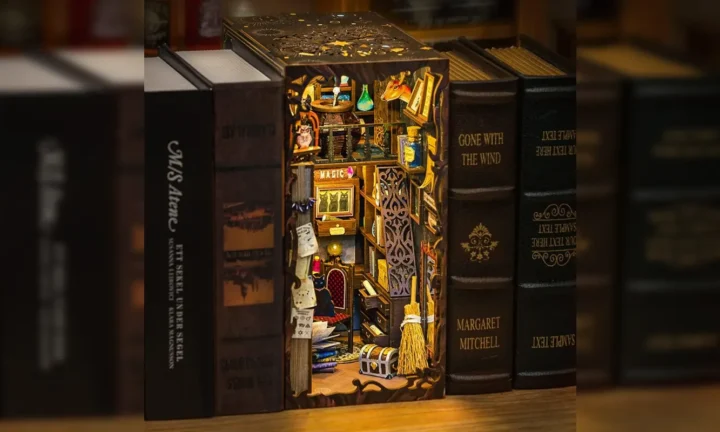
Starting a book nook project is a creative way to personalise any bookshelf by crafting a small, detailed world between the books. Whether someone chooses to build everything from scratch or use helpful tools like miniature book nook kits, the experience can be rewarding and fun for people of all ages.
Choosing the right starting materials can make the process smooth and enjoyable for both beginners and experienced crafters. By gathering the basic supplies and considering the look they want for their book nook, anyone can begin planning their tiny scene with confidence and excitement.
Chipboard or thin plywood for the structural base
When starting a BookNook project, choosing between chipboard and thin plywood matters for the base structure. Both materials offer different qualities that can affect the strength and finish of your miniature scene.
Chipboard is made by pressing wood particles together with glue. It is generally cheaper and smoother on the surface, which can help when painting or applying paper finishes. However, chipboard may be less strong than plywood of the same thickness.
Thin plywood is layers of wood veneer bonded together, making it sturdier and less likely to bend. It handles small screws or pins better and can support heavier items. Plywood usually has a wood grain, which some people prefer, but it may need more sanding for a smooth look.
Think about the weight your BookNook will hold and how much detail you want to add. Both materials can work well, but the choice depends on the project’s needs.
A craft knife for precise cutting
A craft knife is used to cut materials like paper, card, and thin wood with accuracy. Its sharp, pointed blade allows even small or detailed pieces to be shaped without tearing or fraying the edges. This makes the tool a common choice for BookNooks projects, where neat lines and tight spaces are important.
It helps users trim windows, doors, and decorative trims for miniature scenes. Unlike scissors, a craft knife can make straight, curved, or very small cuts as needed. The blade can also reach into corners and around patterns that would be difficult with other cutting tools.
Beginners and experienced crafters both use craft knives for tasks that require detail and control. The tool also works well for cutting templates or preparing stencils before painting or gluing. To keep cuts safe and smooth, users should always work with a cutting mat and take care while handling the blade.
Ruler with metric and imperial markings
A ruler with both metric and imperial units is handy for measuring and marking materials in BookNook projects. It helps users follow guides and instructions that may use different measurement systems.
The metric side shows centimetres and millimetres, which are useful for small and detailed measurements. The imperial side displays inches and fractions of an inch, making it easier to work with materials that use this system.
Both sets of markings make it simple to measure paper, wood, or other materials accurately. Most rulers start from a clear “0” mark on both sides, which helps people get precise measurements for cutting or gluing.
A standard length for these rulers is 30 cm or 12 inches. This size is long enough for most craft tasks but also easy to handle and store when not in use. Some prefer a longer ruler for larger projects, but 30 cm is usually enough.
Strong, fast-drying craft glue
A strong, fast-drying craft glue is helpful for building BookNooks with small details and delicate pieces. Most types used for crafts give a firm hold in a short time, which can speed up each step. This allows the project to move forward without long waiting periods for the pieces to stick.
For working with different materials, such as wood, paperboard, or lightweight plastics, a fast-drying glue with a clear finish keeps the project looking neat. It is useful for sticking layers, decorative pieces, or small props into place with less mess.
Using glue specially made for crafts means that bonds often last longer and can stand up to moving or handling. Good glue should dry see-through, help stop warping, and not damage your materials. Remember to apply only a small amount at a time for the best results.
Acrylic paints in various colours
Acrylic paints come in a wide range of colours. These paints are water-based, making them easy to clean up with just soap and water. They dry quickly, which is practical for BookNooks projects that involve layers and small details.
When starting out, it helps to have a basic selection of primary and secondary colours. White and black can be used to mix shades and tones. Adding a few bright colours will allow even more creative choices.
Acrylic paints can be used on materials like wood, card, and plastic. The versatility means they work well for both background washes and tiny accents. They also give a smooth, even finish once dry.
He or she can apply acrylic paint with a brush or sponge. Thin layers will build up colour without covering details. Adding water will make the paint more transparent if a lighter effect is needed.
Small paintbrushes for detail work
Small paintbrushes help with painting fine lines and tiny areas inside a BookNook. These brushes give more control when adding small details, such as books on a shelf or lamp posts along a street.
Brushes with a round tip and a size between 0 and 4 are used for this kind of work. They make it easier to reach corners and add sharp outlines without smudges.
Using a brush with soft synthetic bristles is a smart choice. These bristles can hold paint well and provide a smooth, steady stroke.
Keeping a few small paintbrushes for different colours or finishes will save time. Always rinse brushes straight after use to keep them working for longer.
Conclusion
Gathering the right materials is the first step to a smooth book nook project. Key items like chipboard, decorative paper, glue, and a steady hand can make the work easier and more enjoyable.
Planning the theme and selecting tools early helps create a neat, pleasing scene. Patience and simple preparation can help beginners avoid common struggles.
Starting with basic supplies allows crafters to enjoy building and personalising their shelf display.