How To Install Slat Wall: A Step-by-Step Guide
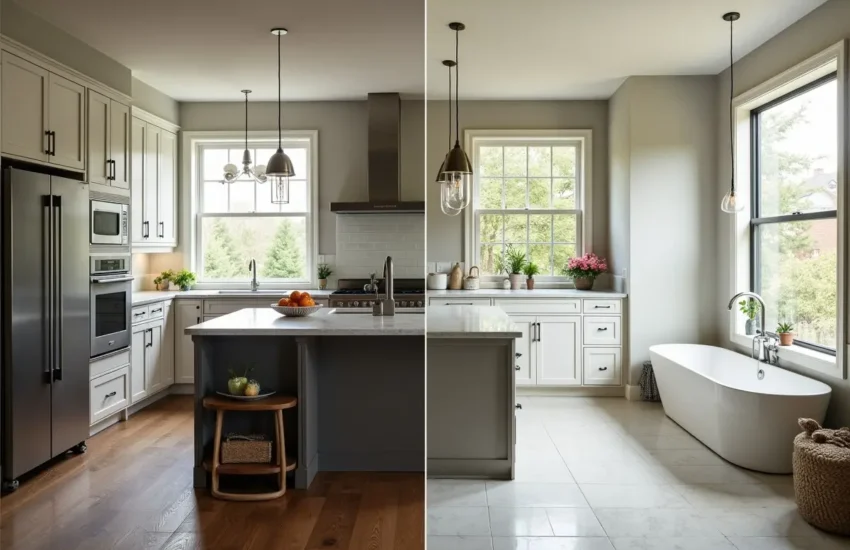
Thinking of modernizing your space with style? Slat wall paneling is an easy way to instantly elevate your interior space and give it that organic feel. Not only does it change the overall appearance, but it also offers functional benefits like soundproofing and added depth or texture.
Whether you’re revamping your living area, bedroom, or workspace, slat walls provide a stylish and functional solution.
However, you must be wondering where to start and how to install it. Don’t worry!
Installing Slat Wall is simpler than you think. Armed with the right tools and a little guidance, you can transform any room with slat wall paneling in no time.
Here is a step-by-step guide to installing a slat wall and giving your space the new stylish look it deserves.
Step 1: Understand What Slat Walls Are
First and foremost, you need to understand what a slat wall is and how it transforms your interior space.
Essentially, slat walls comprise narrow (vertical or horizontal) panels made from different materials (most commonly wood or composite) that you fix to either a wall or ceiling.
They add depth and interest to a space, giving it an overall contemporary feel with a hint of sophistication. Due to their construction, slat walls actually act as acoustic paneling by reducing echo within a room’s environment.
This makes the salt wall panel an incredibly versatile choice for both your residential and commercial projects.
Step 2: What Materials Suit You Best
Choose the right materials for that beautiful and durable slat wall. You can choose from a variety of options, with each having visual and other benefits. For instance, options like the Acoustic Slat Wall Panels are crafted with precision, combining functionality with elegance.
They also offer a range of finishes to choose from, depending on what best suits your existing interior. Upping your material choices will guarantee longevity and overall finesse for your slat back wall.
Step 3: Prepare Your Space
As with any home improvement project that adds value, preparing your space properly will help ensure a successful installation. First, clear the room where your slat wall will be installed. That means moving any furniture or objects out of the way.
Next, clean the wall surface. Whether you are putting up a slat wall in a basement, garage, or retail space, ensure that you wipe down and dust off the area first. Depending on your current wall, you may need to patch up some holes or make other general repairs before installing a slat wall.
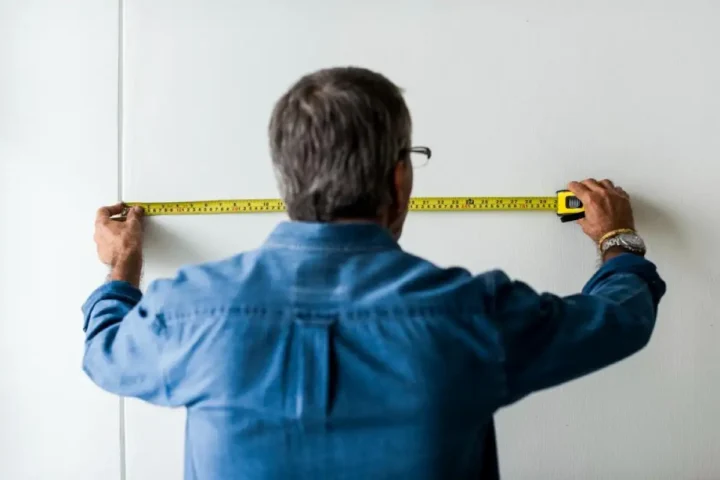
Step 4: Measure and Plan
Measure twice and cut once. Or in this case, measure about six times and then plan your design. Either way, it’s better to be safe than sorry when it comes to designing a slat wall. Start by measuring the height and width of the wall where you’ll be adding panels.
Use these measurements to decide how many panels you’ll need and how you’ll place them on the wall. Preplanning helps you envision what your finished project will look like while also avoiding having to make adjustments later that could throw off your pattern or symmetry.
Step 5: Get the Tools You’ll Need
Get the tools together before you start, and the job will be easier. For instance, here’s what you’ll need for a wall slat installation project:
- Tape measure
- Level
- Stud finder
- Power drill-driver
- Saw to cut any panels to fit
You may also need Dry Wall Fixing Screw for Acoustic Slat Wall Panels. These drywall screws help you fit the acoustic wood slat wall panels. They have a super sharp point with a single deep coarse thread for ease of insertion into the walls.
For some panel types, like mirrored or corkboard yields, you’ll most definitely require installation adhesive or mounting brackets.
Step 6: Find Wall Studs
Using a stud finder, locate the wall studs in the area where you will be installing the slat wall panels. Lightly mark the positions of the studs with a pencil. By attaching the slat wall panels to the wall studs, your panels will be securely installed for safety and long-lasting durability.
If using your wall studs will not allow you to position your panels where you want them, use the appropriate wall anchors to ensure adequate support for your slat wall.
Step 7: Cut Panels to Size
Depending on your wall measurements, some of the panels may need to be cut. Mark off where you’ll need to make cuts on the panels and measure twice. Cutting is a great time to take advantage of any clamps you have lying around. It will help ensure that your cuts are precise so you won’t have any gaps between the panels when securing them onto the wall.
Step 8: Install First Panel
You will want to be careful here because this panel will set the tone for the rest of your work. Place your first panel at the beginning point that you decided upon in step one. Using a level, keep your panel perfectly straight; otherwise, it may throw off all the remaining panels.
Once leveled, attach your panels to wall studs using screws or other recommended techniques by the manufacturer of the panels that you purchased. Again, use your level to double-check before finishing securing this panel.
Step 9: Keep Going
Using the completed panel as a guide, line up and secure each subsequent panel. Space them evenly and ensure they’re level, adjusting back-and-forth positioning as needed. You also want to catch early shifts in alignment, so periodically check the entire layout from right to left. This will keep your design in order and help you finish with a perfect look.
Final Thoughts
A slat wall project is a worthwhile endeavor that you’ll certainly be glad you took on, as it can have such a huge impact on both the look and function of your space. Knowing how to do it right and paying attention to details will certainly ensure quality work that you’d be proud to show off.
Whether you consider yourself the ultimate DIYer or are just starting with some tools, these steps should help you install a slat wall that’ll have everyone talking.