Understanding Light in Photography: Mastering Illumination for Stunning Shots
Light is vital in photography. The placement of light sources can transform an entire image. Who Said Photography recognizes that natural and artificial light have distinct qualities, and knowing how to use them impacts the final photo. Positioning light in front produces a flatter image, while side lighting creates shadows and depth.
Balancing light is key to good photography. By using techniques like having a main light and adding secondary lights or reflectors, I can eliminate dark areas and create high-quality images. When I start with natural light, I can take advantage of its constantly changing nature, due to the time of day and the weather.

Many beginners might find lighting complex, but with a few basic setups and some practice, mastering light becomes manageable. Understanding how light interacts with my subject helps me create pictures that truly stand out. Learning to control lighting not only improves my photos but also adds a professional touch to my work.
Key Takeaways
- Proper light placement transforms an image
- Balancing natural and artificial light enhances photo quality
- Mastering basic lighting setups elevates photography skills
Fundamentals of Light
Light plays a crucial role in photography, affecting mood, depth, and the overall quality of an image. It is essential to understand properties of light, differentiate between natural and artificial sources, and know how to measure and manipulate light for the best results.
Properties of Light
The properties of light are essential for creating different photographic effects. Angle and intensity of light can make a big difference. When light hits a subject directly, it creates hard shadows, known as hard light. On the other hand, soft light comes from a diffused source, reducing shadows and creating a more even look.
Colour temperature is another property to consider. Natural sunlight has a different colour temperature compared to studio lighting or flash photography. Adjusting the white balance on the camera helps in making sure the colours in the photo appear natural.
Natural vs. Artificial Light
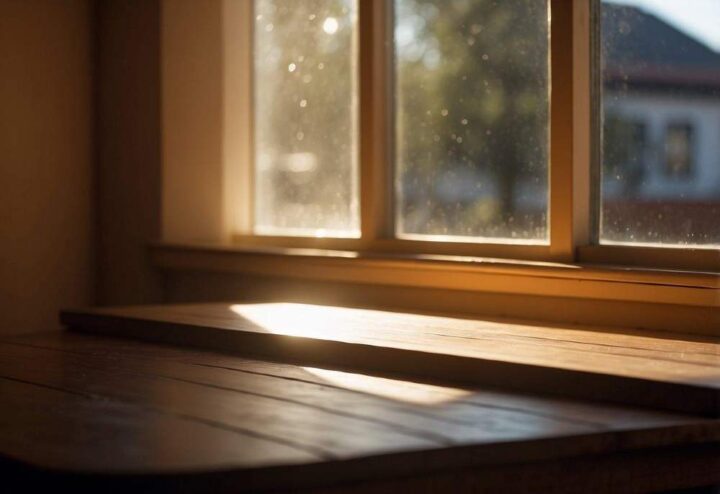
Understanding the difference between natural and artificial light helps in making better lighting choices. Natural sunlight is free and constantly changing throughout the day, which can create different moods and depths in the images. Shooting during the golden hour, just after sunrise or before sunset, offers soft, warm light that is very flattering.
Artificial light like studio lighting provides consistent and controllable lighting conditions. Using tools like diffusion panels can help soften the light and reduce harsh shadows. Ambient light in a room can also be manipulated by adding or subtracting light sources to achieve the desired effect.
Measuring and Manipulating Light
To get the best results, knowing how to measure and manipulate light is key. Using a light meter, you can assess the exposure and ensure your images are neither too dark nor too bright. In manual mode, you have full control over the camera settings, which is crucial when experimenting with different light sources.
Flash photography is another way to manipulate light, adding extra light where needed. Adjusting the angle and intensity of the flash can help create depth and highlight features. Playing with shadows and highlights will allow you to achieve the look you envision in your photos.
Lighting Techniques in Photography
When it comes to photography, the right lighting can make all the difference. Whether using natural or artificial light, understanding how to manipulate it can transform a dull photo into something extraordinary.
Directional Lighting Explained
Directional lighting involves positioning the light source at different angles relative to the subject. Some common types include:
- Butterfly lighting: The light is placed above and in front of the subject, creating a butterfly-shaped shadow under the nose. This setup adds drama and highlights cheekbones.
- Loop lighting: The light source is placed to the side and slightly above the subject, creating a small shadow on the opposite side of the nose. It’s flattering for most portraits.
- Split lighting: The light hits one side of the face directly, leaving the other side in shadow. This setup is dramatic and can be great for moody portraits.
- Broad and short lighting: Broad lighting illuminates the side of the face turned towards the camera, making faces appear wider. Short lighting illuminates the side turned away, slimming the face.
Light Modifiers and Their Uses
Light modifiers are tools that adjust the quality and spread of light. Some widely used modifiers include:
- Diffusers: These soften the light, making shadows less harsh. Softboxes and umbrellas are popular options.
- Reflectors: Used to bounce light back onto the subject, reducing shadows and adding highlights. They come in different colours like white, silver, and gold, each providing different effects.
- Barn doors: Attachments with foldable flaps that control the spread of light. They help in directing light precisely where needed.
- Flags: Black panels that block or shape light. Useful for creating sharp shadows or blocking unwanted light spill.
These modifiers are essential in controlling how light behaves. They enable precise adjustments, giving you control over the final look of your photographs.
Specific Lighting Setups
Photography lighting setups use combinations of light sources to achieve various effects:
- Key light: The primary light source, determining the overall exposure. It is often supplemented by other lights.
- Fill light: Used alongside the key light, positioned at a lower intensity to fill in shadows. It adds detail without overpowering the main light.
- High-key lighting: Known for its bright and even illumination, often used in fashion and product photography. Multiple lights and reflectors are used to eliminate shadows.
- Low-key lighting: This setup features strong contrasts and deep shadows. It uses minimal lighting to create moody and dramatic effects.
Understanding these setups helps in choosing the right technique for your desired look, whether it’s a soft portrait or a dramatic scene.
Practical Application of Lighting
In this section, I will explore how to best use light for different types of photography. We will look at specific techniques and settings that can help you make your photos stand out.
Portrait Photography Lighting
In portrait photography, lighting is crucial for achieving the desired look. Butterfly lighting, for example, creates a shadow under the subject’s nose that looks like a butterfly. This adds depth and dimension to the face.
Catchlights can make eyes look more vibrant by reflecting light. Using an off-camera flash or light modifiers can help get this effect. Diffused light is valuable as well because it softens wrinkles and blemishes, making the skin look smoother.
High key lighting is another technique that uses bright lights to minimize shadows and create an airy feel. Reflectors can balance lighting and help eliminate dark areas in the shot.
Landscape Photography and Natural Light
Landscape photography heavily depends on natural lighting. The best time to shoot is often during the golden hour—just after sunrise or before sunset. This light is soft, warm, and creates long shadows, making landscapes look dramatic.
On cloudy days, the light is diffused, which reduces the harsh shadows and highlights. This is perfect for capturing details and textures. Midday sunlight is harsher and can make it hard to capture the right contrast and colours.
Reflected light from surfaces like water or snow can add an interesting element to landscape shots. Paying attention to how light interacts with these surfaces can result in stunning photos.
Troubleshooting Common Lighting Challenges
Photographers often face challenges like uneven lighting or unwanted shadows. Placing a dual flash can help balance lighting from different angles. Adjusting the strength of the flashes can also help eliminate dark patches.
Shooting in situations with mixed light sources, such as indoor lighting combined with sunlight, may require careful adjustments. Colour temperature settings on your camera can help balance the colours.
Using light modifiers like softboxes can soften harsh light, while diffused light through a diffuser can help mitigate strong shadows. Experimenting with off-camera flash positions can often provide solutions for tricky lighting situations.


